
Sustainable Flower Arranging - Part 1: Frogs
We successfully weaned ourselves off of flower foam over at Lola Event Floral & Design.
It’s not been easy. The green yuck (floral foam) is just so efficient and when you’re in a bind, it’s easy to revert back to what’s easy. (Isn’t this addict talk?) I discovered, though I hate to admit it, that my short term anxiety over time restraints during event production, delivery, and setups trumps my noble desire to run a more sustainable operation. But thanks to the waggling fingers and stoney resolve of some of my employees, the interwebs, and some colleagues, I’ve been kept on the straight and narrow.
Hopefully I can be that motivation for you.
If I can build some new greener neural pathways, you can too. It’s definitely a different way of approaching arranging, but we’ve developed some new processes that we can be proud of. So proud, in fact, that we’d like to share them with you.
And by the way, I documented this tutorial with On-Site Reporter, an app that facilitates this sort of thing. Read more on that at the end. And as a bonus, it just happens to be created by the most wonderful man in the world (hubby).
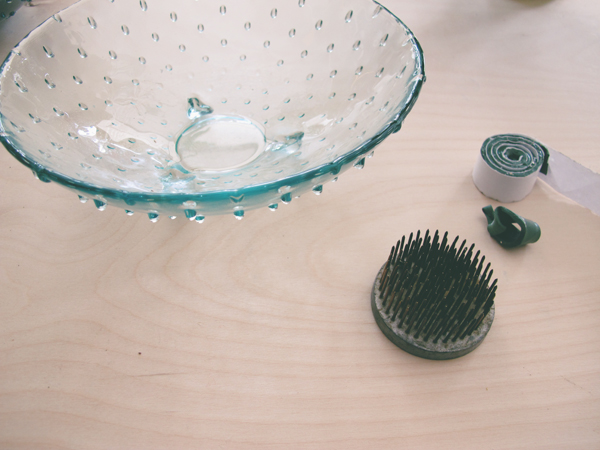
We’ll start with what’s easy. Flower pin frogs. Little metal pucks with pointy ends to grip your stems. They are great for securing a few stems as you make a stem cage support for the rest of the arrangement, or for use in a low dish where there isn’t much room for support.
Step 1:
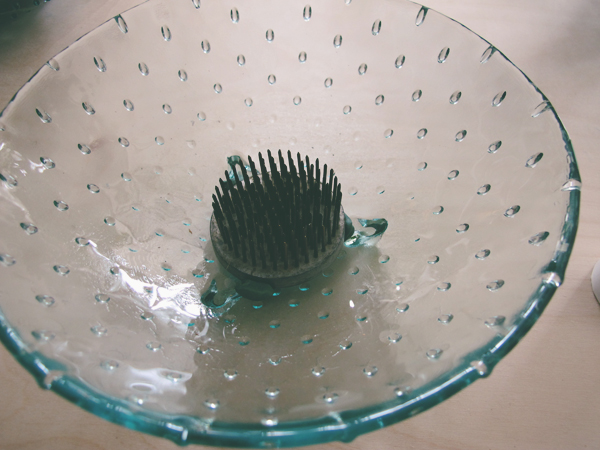
I make sure my frog and bowl are dry and secure the frog to the bowl with some floral clay.
Step 2:
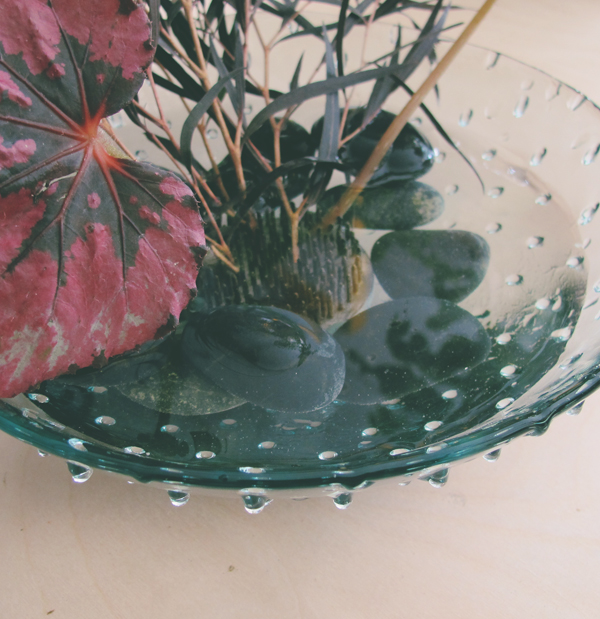
I start adding in my base foliage. Agrostis and Begonia leaves. I use river rocks to add more support for the frogs, disguise a bit, and add more structure for plants to be nestled into.
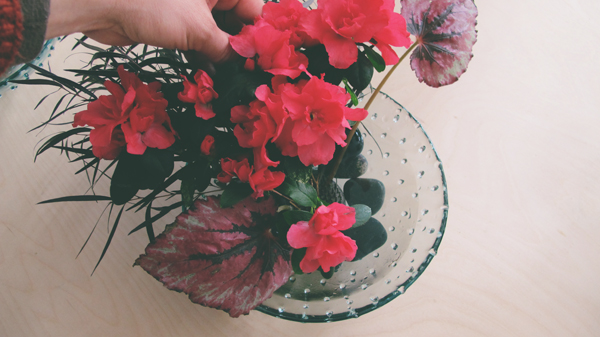
I have a potted azalea that doesn’t have a home so I cut off a piece of the mini shrub and secured it to the frog. Woodier stems like this will have to be jammed in. Careful you don’t impale yourself!
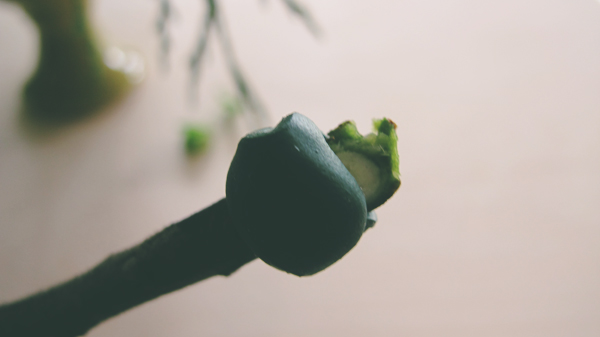
I also want to add some pussy willow but the stem’s too thick for me to jam it on with all these other plants in the way so I go ahead and add some clay to the end to give it a bit more adhesion. This stem is dried so I’m not concerned with it actually being under water- just in there enough to stay in place.
Step 3:
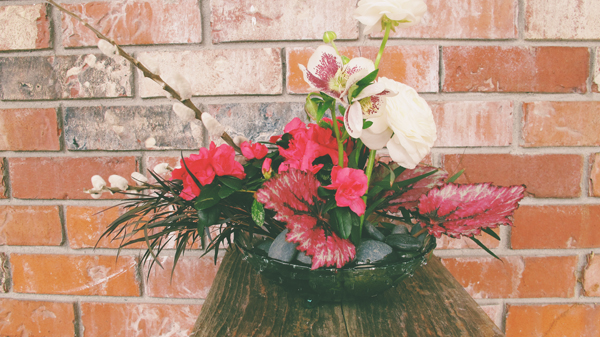
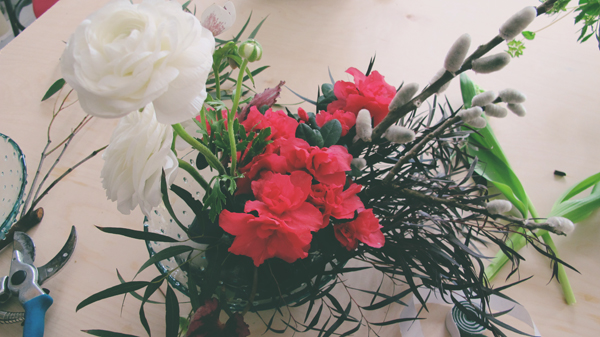
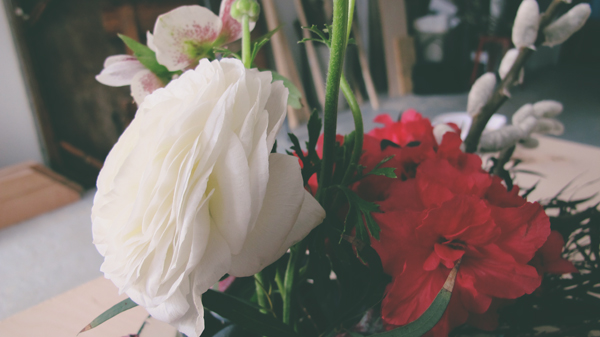
I’ve got some monstrous ranunculus, a hellebore plucked from my yard, and a few more bits of foliage. And that about does it. Don’t need much.

So cute… so healthy… Loooove. If you deliver this you’ll just have to remember to water again when you get there.
Now for some glamour shots.
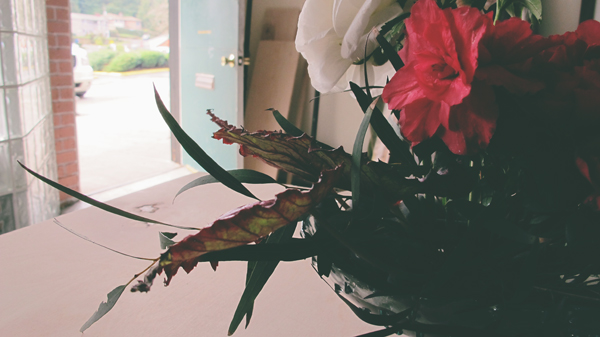
That’s it for now.
We’ll be going over a bunch of different methods for getting interesting foam free looks, so follow us to keep up to date. And if you’re thinking about going foam-free, do it. Hesitant? Of course, but do it anyway. You’re a freagin’ MacGyver, you’ll figure it out.
AND if you want to know more about On-Site Reporter, check it out. It basically allows you to document any site visit or process with steps by matching photos with dictated or typed in notes. Chronological photos and notes are then sent to you. No more confusion wondering what you did when- BOOM. It practically puts your tutorial together for you!
Tag us on Instagram (@lola.curious) of your foam-free arrangements, we want to see your masterpiece!